Shopify is an e-commerce platform that enables individuals and businesses to create online stores. It started its work in 2006 but now it is great system with expressive functionality. Cataloges, blogs, hundreds of apps, large theme store, access to PayPal and excellent documentation and community for all these things. But it is better to try once then to hear for thousand times.
So let us start to make a real shop!
Step 1. Installation
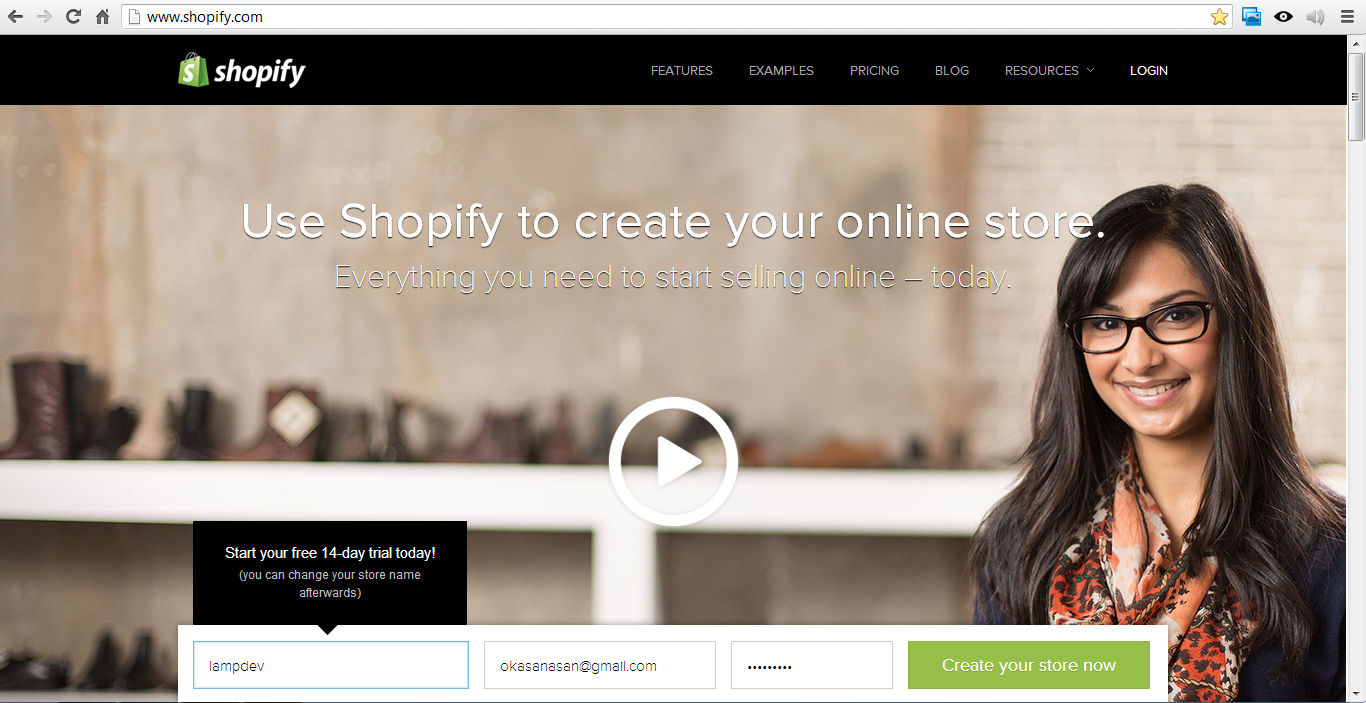
One of the real advantage of this system is that it is fully SaaS, i.e. you don’t have to install any software like web servers, deal with PHP code, learn complicated e-commerce platforms like Magento and so on. All you need is to sign up and fill a few fields of information.
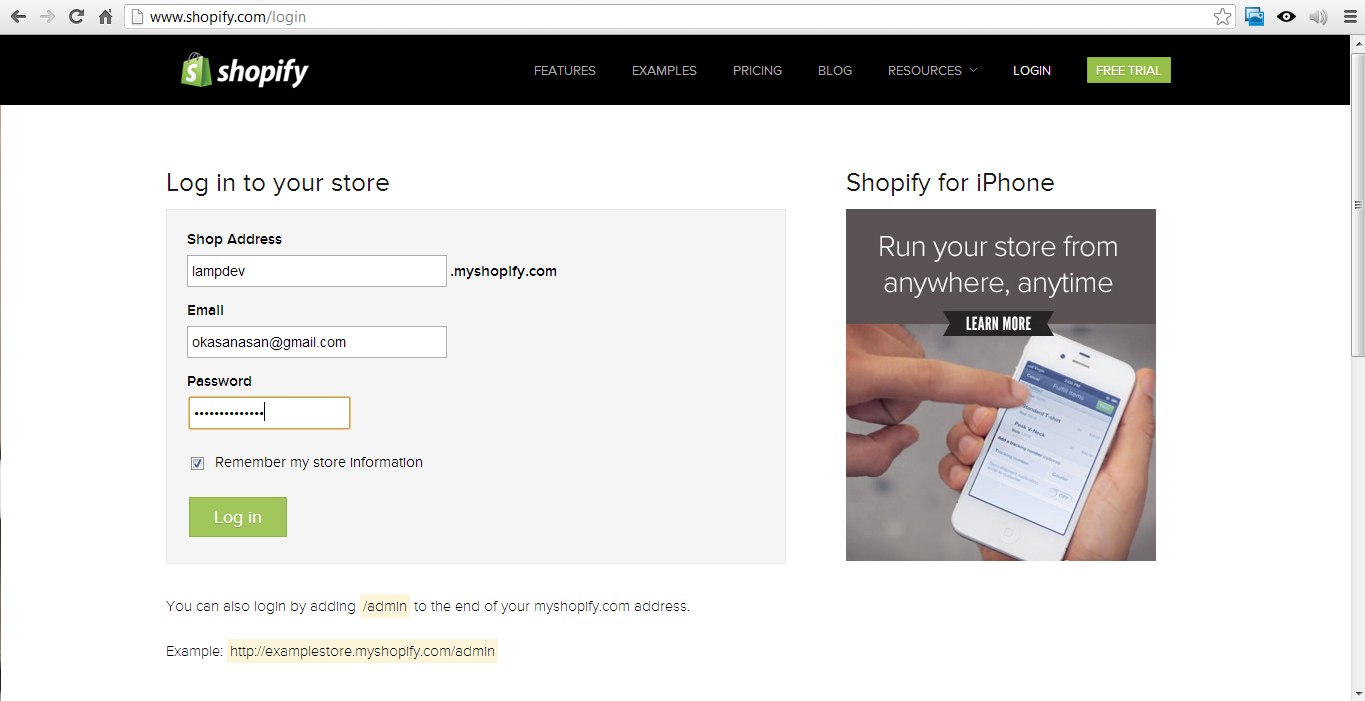
To be sure everything is good you can check your mail and read the message with your access information.
Then log in and go to the admin panel.
Step 2. Theme
You can make your shop unique if you choose a theme from Theme Store of shopify or a one from sites like themeforest.net or just create your own theme.
To manage your store theme settings press Themes button in YOUR WEBSITE category.
Shopify is loyal to other designers and if you prefer to use some other theme stores you can download theme from them. For example, we used ThemeForest.
- Option 1. Theme Store
If you want to choose the first way you need to Visit the Theme Store, choose the theme there and install it by one click. You’ll see a dialog window which askes you if you want to publish this theme or leave it as unpublished. The first mean that you start to use it from now on and the second – it will store in your site and you can publish it in at any time.
- Option 2. Other Source
But if you have already bought a theme from another site you may to find in your big archive a zip with your theme and upload it with this button Upload a theme.When you got the archive please open it. You have to upload only zip with your theme without documentation folder or so on.
The next step is to click Upload Theme and upload your zip archive within this dialog window.
Howsoever you upload your theme it will be useful to check if you get what you want or don’t.
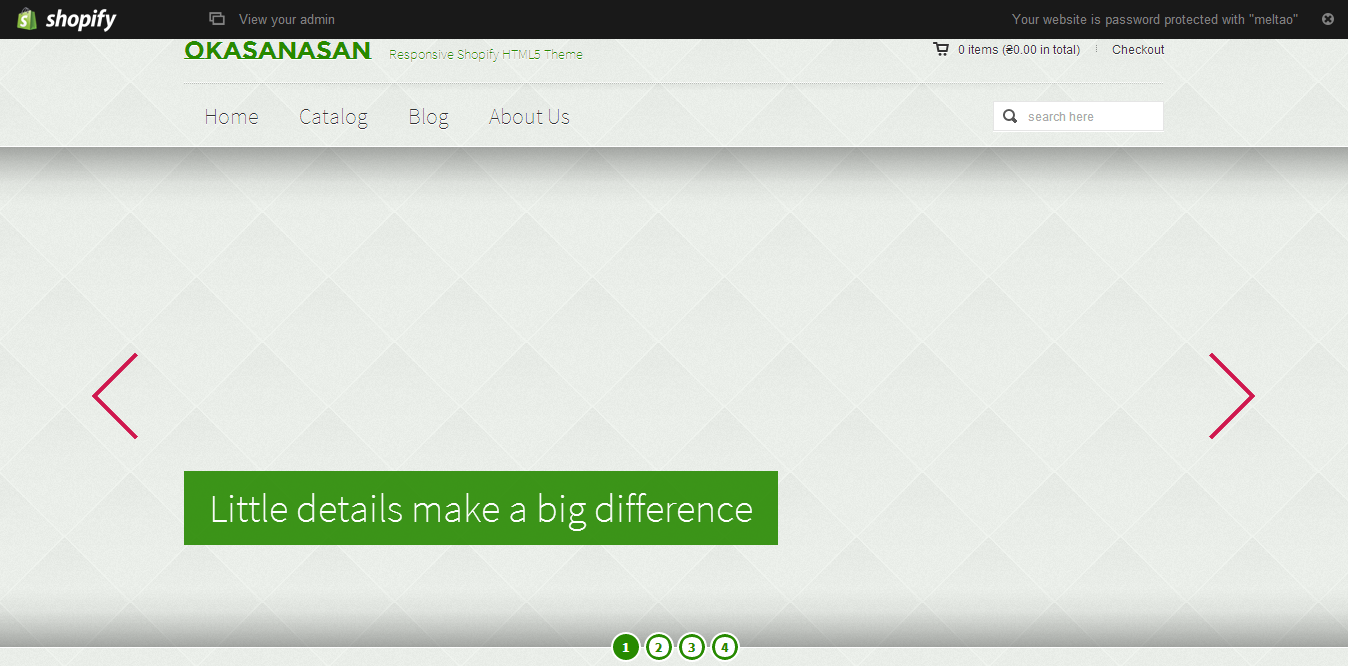
You may see absent slider images on the frontpage and default text placeholders from your theme. You can change all of these by going to YOUR WEBSITE -> Themes -> Theme Settings (of your currently published theme)
Step 3. Products
Obviously, the main purpose of any e-commerce site is selling products, so in this step we will add some to our test store. There are two ways to do this.
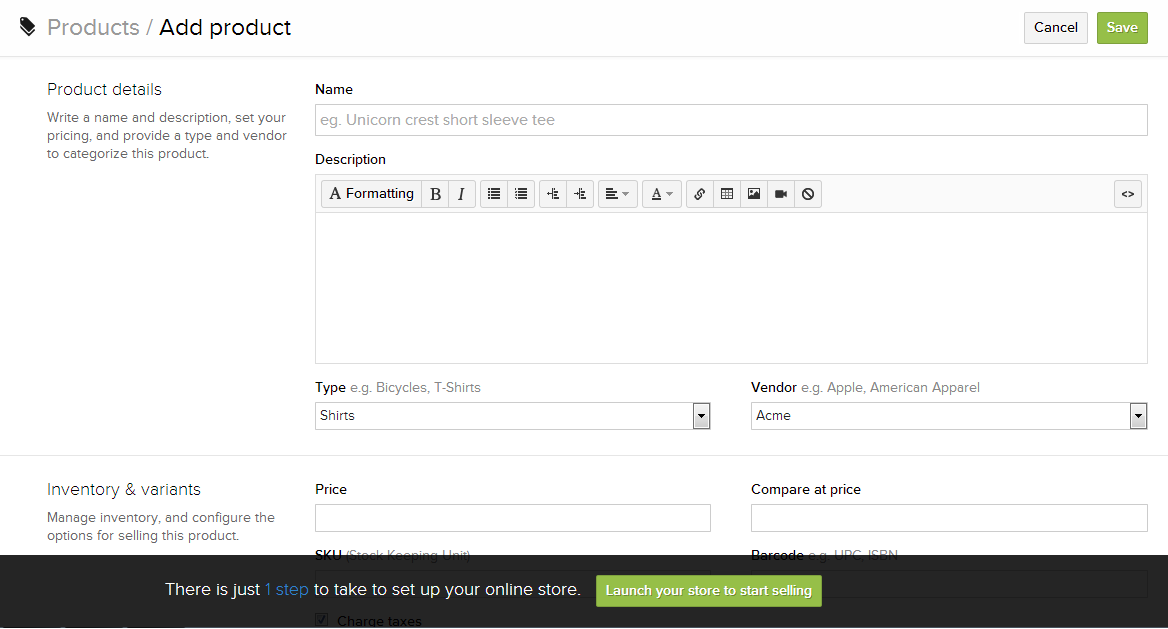
- Option 1. Manually
If you have only one or two products it is convenient to add them by filling in a form. Press Add product button which is located in YOUR STORE -> Products.

Then you’ll be taken to the following form:

All you need to do then – input your information and save it.
- Option 2. CSV
Press the button Import which is located on this page (YOUR STORE -> Products). Then a modal window appear.
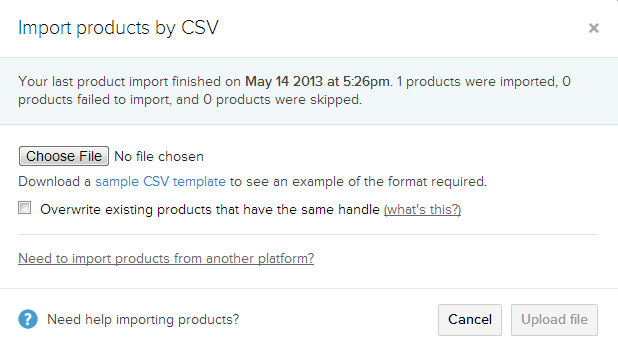
- Here you are proposed to download test CSV file with 1 product in 3 options.
- Its content has two things: 1. the header where you can see all possible product options; and 2. the content where you can identify required and non-required fields.
- The header looks like this:
Handle,Title,Body (HTML),Vendor,Type,Tags,Option1 Name,Option1 Value,Option2 Name,Option2 Value,Option3 Name,Option3 Value,Variant SKU,Variant Grams,Variant Inventory Tracker,Variant Inventory Qty,Variant Inventory Policy,Variant Fulfillment Service,Variant Price,Variant Compare At Price,Variant Requires Shipping,Variant Taxable,Image Src
Once you create your own CSV file you may upload it with the modal. Then it shows you ok/error message(s).
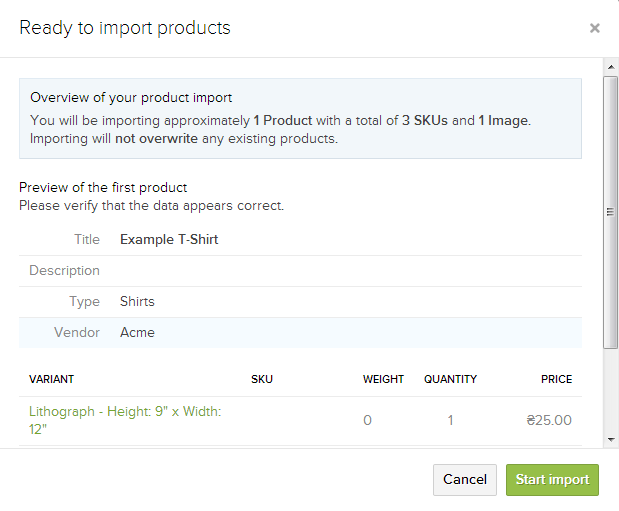
If everything went fine, you can start editing your just imported products, if no cancel and fix your CSV file.
We will use one of many CSV shopify sample files you may find on the web. We found one here.
Step 4. Add products to collection
- Option 1. From collection tab
Get to the collection page (YOUR STORE -> Collections) and choose one of the collections or create a new one.
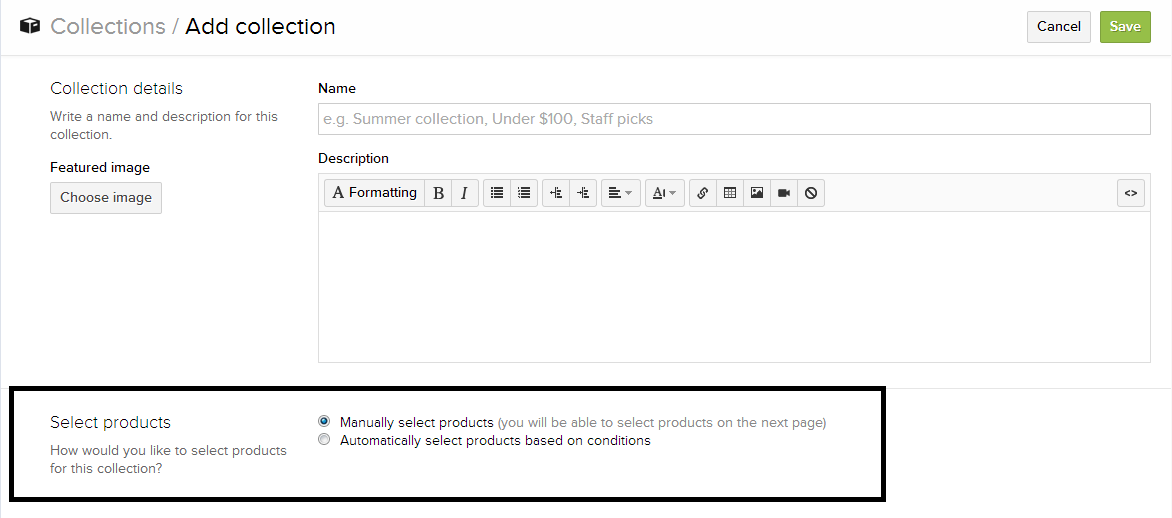
Then find the section Products. You can add a product manually or automatically.
- Option 2. From product tab
Get to the Products page and choose one of the products.
Then find the section Collections. There click Add to collections dropdown button and choose the right one.
Step 5. Processing payments
Shopify can integrate your shop with either PayPal or various CC processors like Authorize.net – depending on where you have merchant account. Of course, it allows you to test your payments in test mode. Refer to shopify website to see the full list of supported payment gateways. We will use PayPal in this guide.
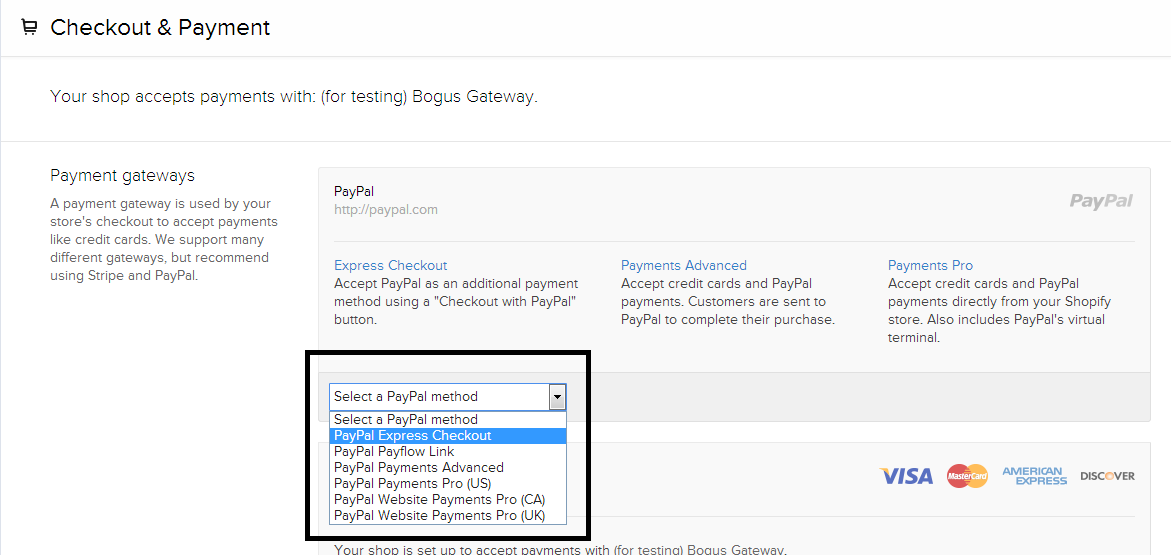
Step 5.1. Select PayPal method.
Navigate to STORE SETTINGS -> CHECKOUT and Select the way you would like to pay within this combobox.
Step 5.2. Create account or activate existing one.
Click the link edit which is right to the your payment method.

You can see a short instruction below the combobox. If you don’t need to create a merchant account in a payment gateway, go to the Step 5.3., if you don’t have one, let’s create it using PayPal as example.
Click the link Create an account. You’ll be taken to the PayPal front page. There press button Sign Up Now. Then you will see a modal which remind you to come back to Shopify after you create your account.
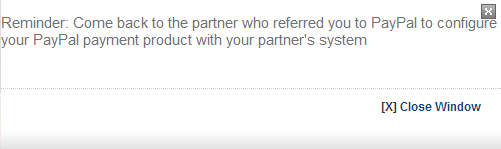
Close it now, we’ll get back to this later.
Finally we get just to the registration.
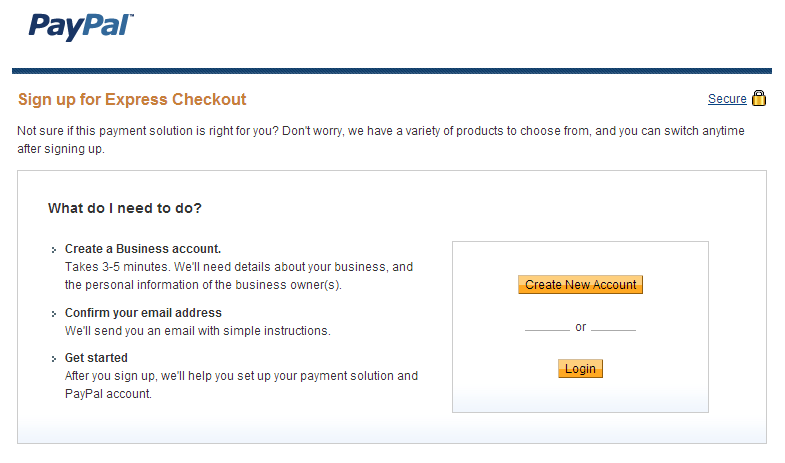
Click here at the button Create New Account. Then you need to select the country your business are located in and your language.

Next fill the form and wait for the email from PayPal. It will ask you to confirm your email address and will activate your account. Such forms as Add additional owners and Adding credit card you can fill later. Now we need to return to our Shopify page.
Step 5.3. Activate
Now we can click Activate button. This means we map our just created PayPal account to our Shopify account. If you want to change it in the future you need to click Use a Different PayPal Method button and choose another PayPal account.
Step 5.4. Selecting a Credit Card Processor
If you want only to have free test select a Bogus Gateway. Oviously, you need to select your payment gateway where you have a real merchant account. Bear in mind that in this case you need to input your merchant data such as Login, Password and ID.
That were all necessary actions for testing your online-store.
You can check if all settings were correct if you try to buy one of your products.
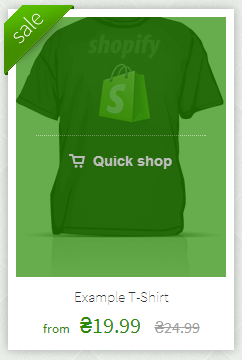
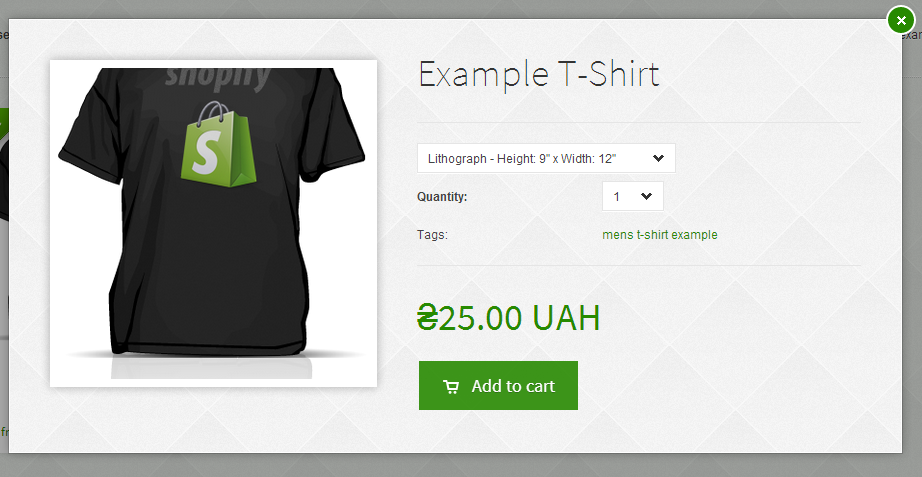
Go to the frontend of your site (you can find your .shopify subdomain in Settings -> Domains section of admin) and click the tab CATALOG (depends on your selected theme). Choose some of the products and click Quick Shop
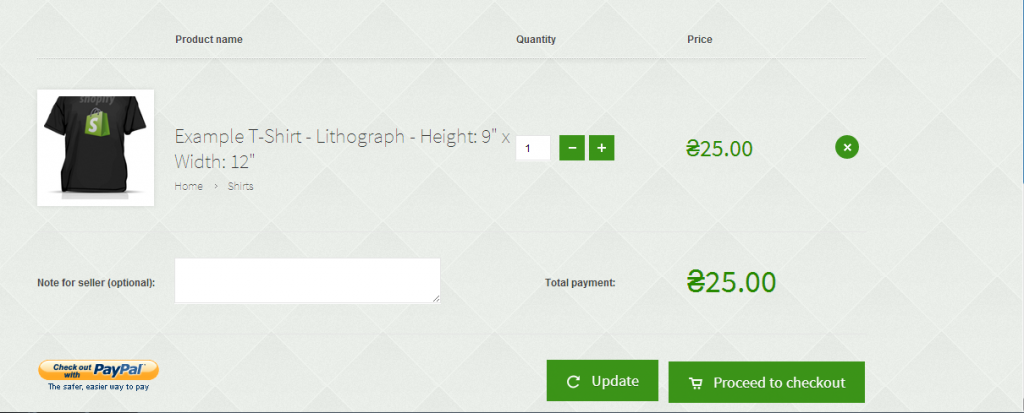
, add it to your cart
and when you get to the next page press button Check out with PayPal.
…And a couple of comments
If you can’t pay with PayPal
Trying to make some purchase and clicking on PayPal button you may see something like below:
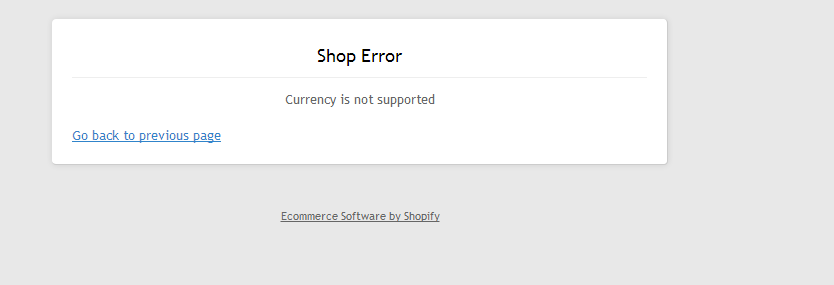 .
.
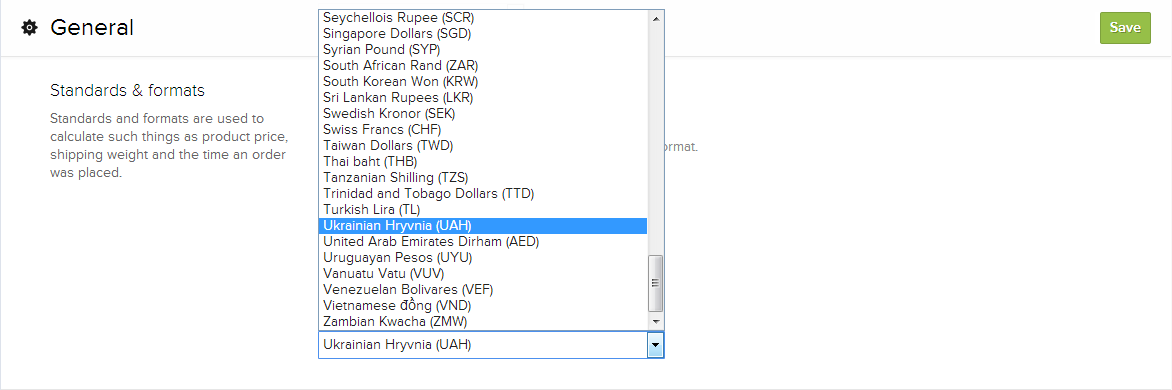
The reason is incompatible currency setted in your Shopify store. To change it you can on the page Settings -> General in the section Standards & formats.
When you get to the PayPal page as a buyer don’t forget to use your buyer’s account, not merchant.
You can visit our test store created with this guide: here