What is Vagrant?
Vagrant is free and open-source software. It is used for creating and using virtual development environments. Vagrant is a wrapper between VirtualBox (or other virtualization software) and configuration management.
Why do we need it?
Usually, each developer in team has own development environment, which configured for his needs. But this may become troublesome. The same web application may work as expected in one environment, and fails to do so in another. Vagrant is created to solve this problem. Now, we can create one development environment package using vagrant, and then all developers in team will install it. So will be the identical environments in all developers. It also saves plenty of time: assume there are about ten different technologies used in a project, like for example: PHP, MySQL, Symfony PHP framework, Redis NoSQL storage, Gearman, nodejs with npm, memcached, various PHP extensions like xdebug. Or if you need a really rich debugging environment (xdebug + Mailcatcher). You don’t want to spend hours installing all this stuff. With Vagrant you just need to find a box in their cloud with all the necessary software and turn it on.
To start using vagrant, you need to take 3 steps.
STEP 1 : preparing
Download and install Oracle VirtualBox and Vagrant.
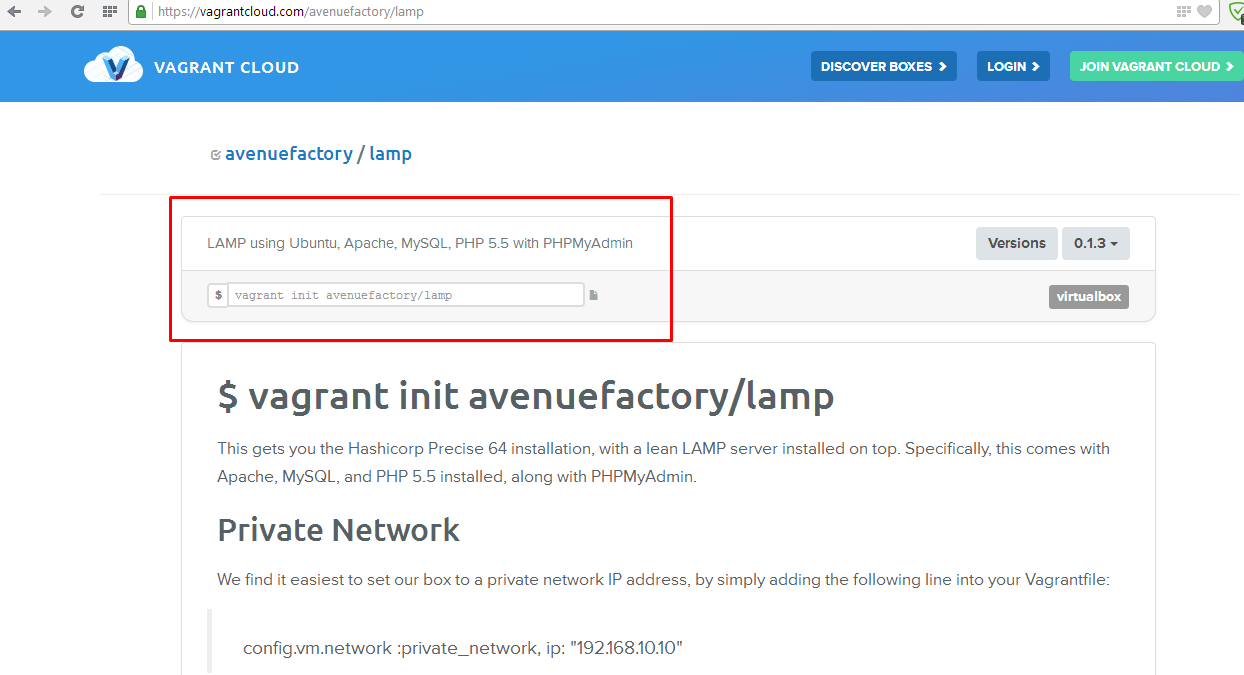
Choose required vagrant box in vagrant cloud.
For example, we chose avenuefactory / lamp box, because it contains required for us components.
STEP 2 : installing vagrant box
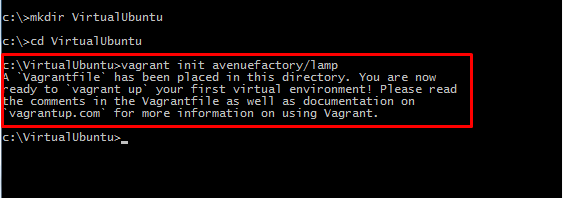
For example, we will create virtual server folder in “c:/VirtualUbuntu”. Next we will get the “Vagrantfile” in it, using “vagrant init avenuefactory/lamp” command.
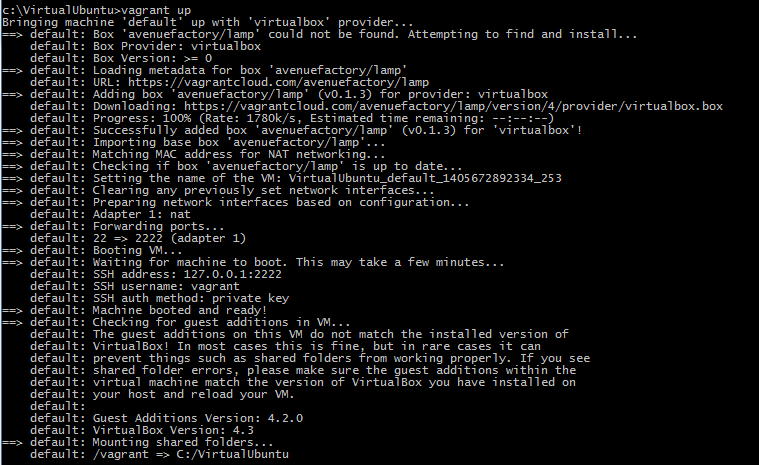
Then we need to install virtual box with ubuntu server in it. For this purpose we enter “vagrant up” (this should be done in the same folder where the “Vagrantfile”). This command will download the chosen box, install it, configure network, shared folders, and other features, and launch server.
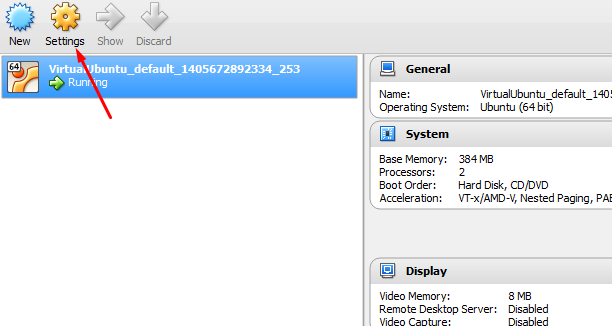
If we check VirtualBox Manager, we can see that our box is running.

Everything is ready for the next step.
STEP 3: configuring
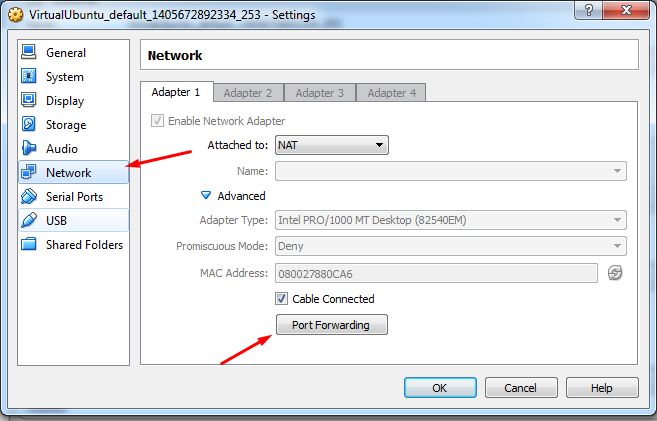
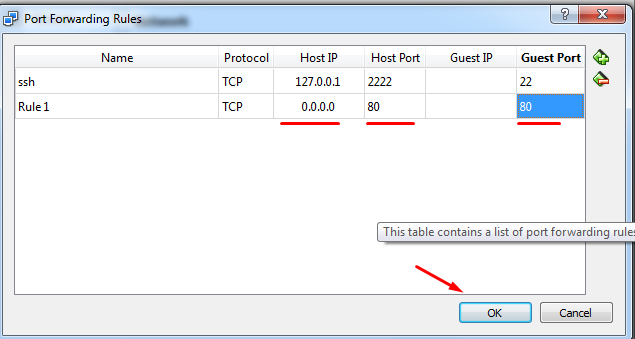
At first, we will forward ports in VirtualBox Manager. For this purpose we need to forward 80 port in guest machine, to 80 port in host machine, for all ip since our primary objective is to access Apache(or any other) web server from host machine. If you need, you may add there other port forwarding rules, like mysql, ssh etc.
Let’s check localhost in browser now. We can see the apache2 default page. In future, we need to see our site at “vagrant.dev”. We need configure apache2 fore this, and, in our case, edit “%WINDIR%/System32/drivers/etc/hosts” ( add line look like “127.0.0.1 {domain_name}” ).
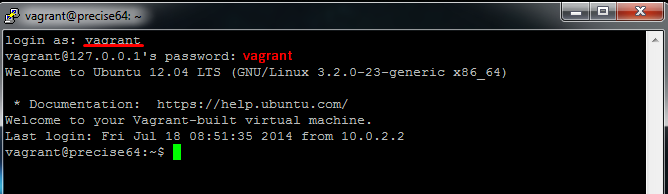
At first, we connect with our server using SSH. For this purpose, we enter “vagrant share –ssh” in cmd, and use PuTTY. If you prefer, you can use any SSH client you just need to get the key (or login/password pair) from the documentation to the vagrant box you downloaded.
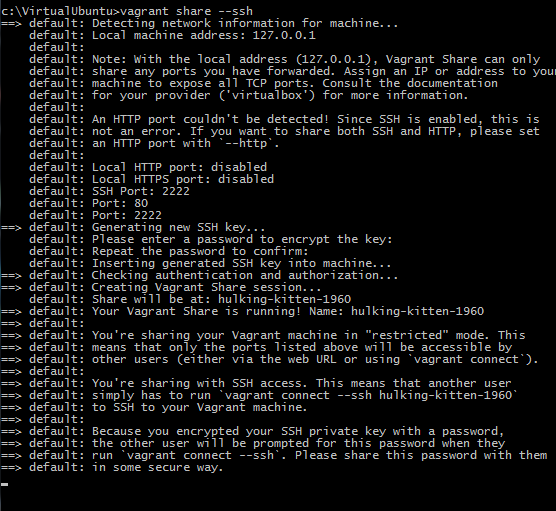
Vagrant forward 2222 port, so, we can connect to our server at 127.0.0.1:2222 using SSH now. When we connect, ubuntu will require login and password. Login and password are “vagrant”. According to Vagrant box specs there must be a vagrant user with vagrant password. This password is also valid for root user.
Now, ubuntu and host OS have shared folder. In our case it is “c:/VirtualUbuntu”. We will create “OUR_SITE” folder, in it, and “index.php”, in “OUR_SITE” folder. Index.php will contain simple code:
<?php
echo "it works in vagrant!";
Now, we check “/vagrant” folder in ubuntu, and see our “index.php”.
![]()
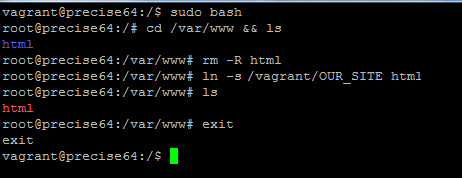
Now, we need to redirect default apache2 site folder to our site folder. We will create symlink in “/var/www” for this. Symlink will be named as “html”, and it will redirect to /vagrant/OUR_SITE.
For this purpose we need:
– take root permissions :
sudo bash
– go to “/var/www”:
cd /var/www
– remove “html” folder:
rm -R html
– create symlink:
ln -s /vagrant/OUT_SITE html
– to switch off root:
exit
Then, we need to edit apache2 configuration.

We need to find line with “
So, we can check localhost again, and to see “it works in vagrant!” in it.
Now, we needed to create the domain name for using it instead ‘localhost’. For this purpose we edit 000-default.conf
![]()
It is necessary to write lines as it is shown below

And restart apache ( “service apache2 restart “).
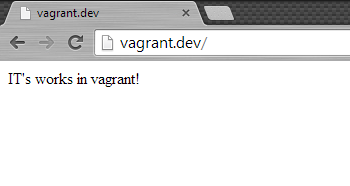
At the end, we need to edit file “hosts” in windows. It located at the path “%WINDIR%/System32/drivers/etc”. We need to add line look like “127.0.0.1 {domain_name}”. So, we will add “127.0.0.1 vagrant.dev”.
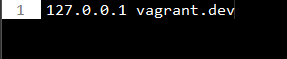
That’s all! We have working virtual ubuntu server, and can see our “c:/VirtualUbuntu/OUR_SITE/index.php” at “https://vagrant.dev”.