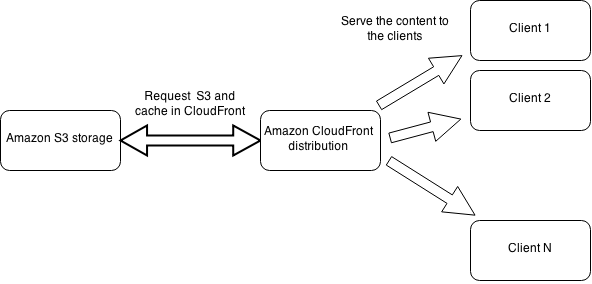
We’re always trying to reduce the number of HTTP queries to our servers, hence trying to utilize various CDN solutions. One of these is Amazon CloudFront which is a part of AWS infrastructure. In this article we are going to upload all our static content, such as JS, CSS files, images, to Amazon S3, create a CloudFront distribution and point it to the S3 bucket with the content and test the CDN distribution. The scheme would look like:
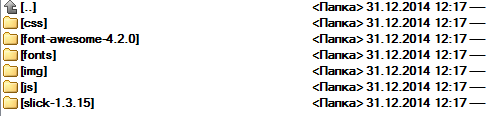
Assume, we have a bunch of static files we want to distribute over CDN. They are organized in folders like:
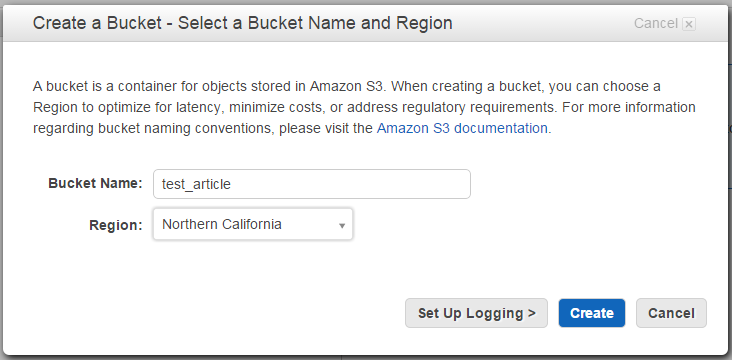
First, we need to create a bucket in S3. Log in to your AWS console and proceed to S3 service. Click „Create a New bucket“ and name is as you wish. Note that on the screen below I tried to use underscore character which is not allowed, so hereinafter the name of the bucket will be „testarticle“ rather than „test_article“.
Once this is done, we need to upload all our files to the newly created S3 bucket. One may prefer to use builtin AWS console upload option, but I’m using convenient S3 browser utility. It asks for IAM user that has rights for the bucket. In case you don’t know what IAM is or you don’t have your IAM user created, proceed to AWS IAM service from main AWS menu and create a user there. Make sure to download BOTH Access and Secret keys. At the end of this you should have a user created and if you click on it you should see something like:
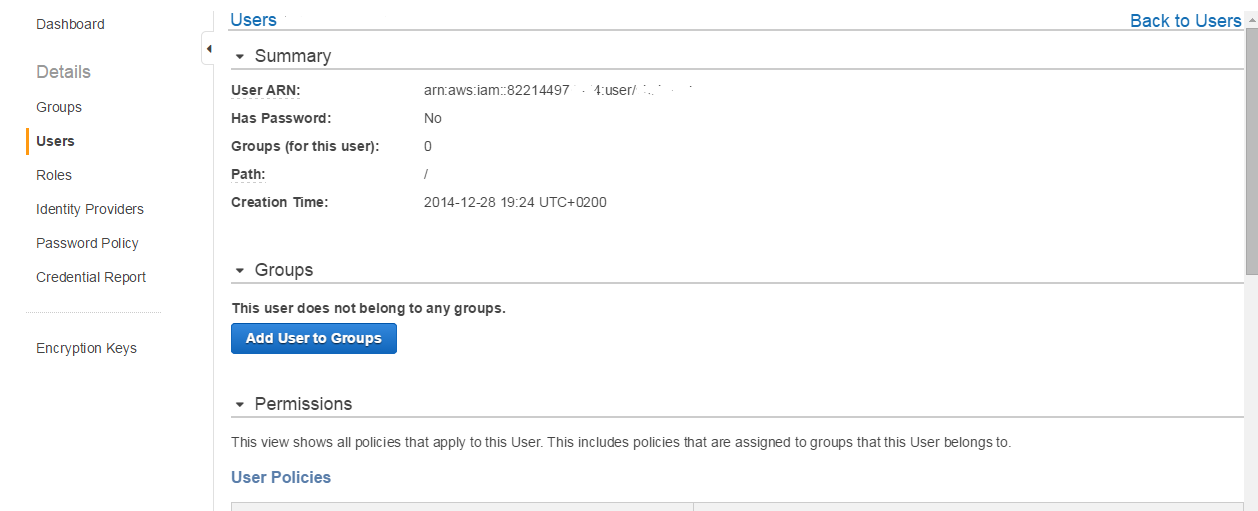
Pay attention at User ARN, note this value, we’ll need it later. Now it’s time to allow newly created user to upload our files to our bucket. We will also add some other handful rights to that user, so that working in S3 browser is more comfortble. Click on the newly created user in IAM console and scroll down to „Attach User Policy“, click that button -> „Custom Policy“ radio button -> „Select“ button -> Enter „PolicyForCloudFrontPrivateContent“ into „Policy Name“ and modify below JSON policy code by changing my „testarticle“ S3 bucket name to yours:
{
    "Version": "2012-10-17",
    "Id": "PolicyForCloudFrontPrivateContent",
    "Statement": [
        {
            "Action": "s3:*",
            "Effect": "Allow",
            "Resource": "arn:aws:s3:::testarticle/*"
        },
        {
            "Action": [
                "s3:ListBucket",
                "s3:GetBucketLocation",
                "s3:ListBucketMultipartUploads"
            ],
            "Effect": "Allow",
            "Resource": "arn:aws:s3:::testarticle"
        },
        {
          "Effect": "Allow",
          "Action": "s3:ListAllMyBuckets",
          "Resource": "*",
          "Condition": {}
        }
    ]
}
Note that there are actually three rules in the policy: [list style=“upper-alpha tick“] [list_item]Allowing all actions in s3 namespace for all objects under arn:aws:s3:::testarticle bucket (/* is important wildard saying „all obects under“)[/list_item] [list_item]Allowing listing the contents of the bucket itself (arn:aws:s3:::testarticle without „/*“)[/list_item] [list_item]Allowing the user to list all the buckets in S3 – this is just to make working under S3 browser more comfortable[/list_item] [/list]
Launch S3 browser, copy/paste the credentials you got when you created your user above (Access Key and Secret Key) into this window:
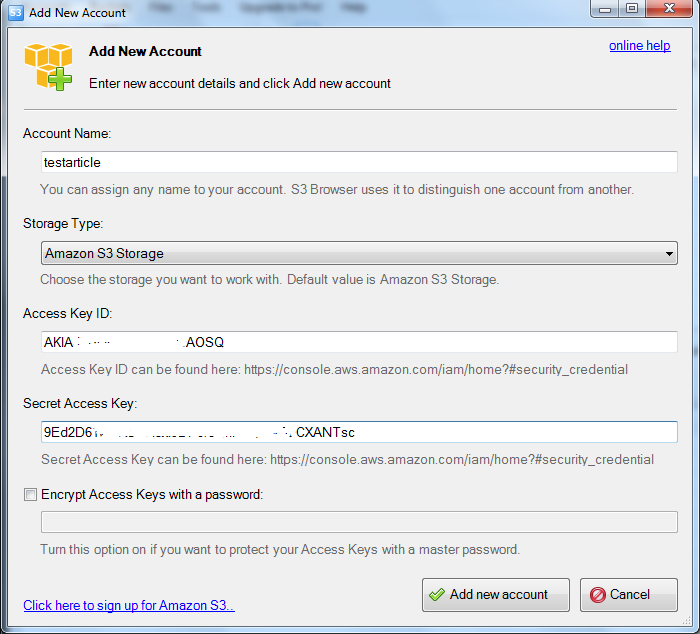
and click „Add New Account“. You should see your bucket on the left side and when you click it you should see no files and no errors in the log area (hopefully!). Click Files -> Upload Folder, select your folder with all the files you need and wait for upload to complete. You can verify now whether it all went fine by navigating to S3 in AWS console and selecting the bucket. Now it’s time for the second part of our tutorial, i.e. creating CloudFront distribution and mapping it to newly created S3 bucket. Proceed to CloudFront from AWS main menu and click „Create Distribution“ button. Select „Web“ by clicking „Get Started“ as we’re talking about js/css/images and not video/media files that can be transferred using RTMP protocol. The main thing is to specify our S3 bucket as Origin domain name. When you place cursor there, it should be in the autocomplete. See below:
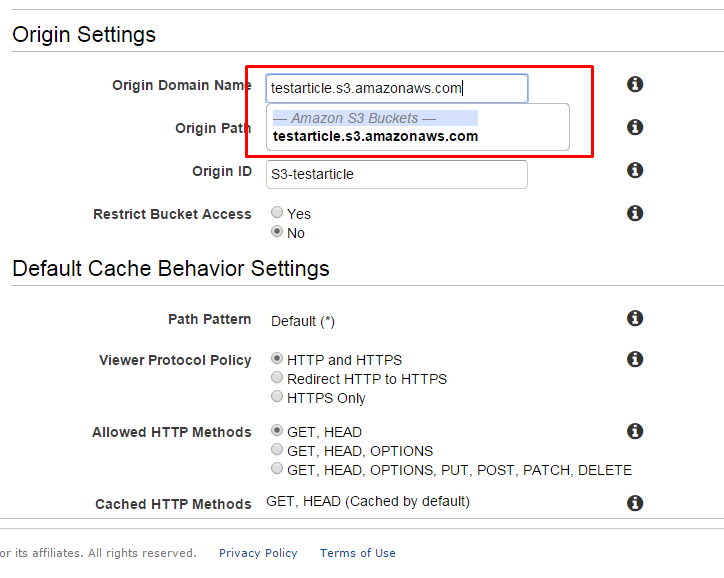
You can leave all the other options in default state, unless you know what you’re doing and interested to change them. They are pretty important if your site is fully HTTPS, and the other (cached HTTP methods and Allowed HTTP Methods) are pretty straightforward. Anyways, these are beyond this article topic. Click „Create Distribution“ at the bottom and wait (takes up to 10 minutes) for the dictribution to be created. You will see „In Progress“ icon in the list of your distributions. In the meantime, we need to allow Cloudfront distribution access to our bucket. As you remember, we did so to allow S3 browser to access it, but other than that, the bucket is protected, meaning, our newly created Distribution does not have access to it. AWS offers to automatically share S3 bucket for any distribution, but we won’t use it, and to my mind it did not work well when you had an existing policy attached to the bucket. What we’re going to do is to add a policy to our S3 bucket to explicitly allow CloudFront distribution access to it. First, go to „Origin Access Identity“ menu item on the left side of CloudFront service. Click „Create Origin Access Identity“ button. Put something into „Comment“ box (important, otherwise, it won’t be shown later on at a dropdown) empty and click „Create“. You will see a new row added into the list on the right. Copy the value of „Amazon S3 Canonical User ID“ column of it – we will need it. Second, go to S3 from main AWS menu. Select your new bucket (testarticle in my case) and then „Properties“ in the top area. Expand „Permissions“ area and click „Add Bucket Policy“. A popup will appear where we should enter the following policy JSON:
{
    "Version": "2012-10-17",
    "Id": "PolicyForCloudFrontPrivateContent",
    "Statement": [
        {
            "Sid": " Grant a CloudFront Origin Identity access to support private content",
            "Effect": "Allow",
            "Principal":{
                "CanonicalUser":"ae14c31d531a109904b69a457557b495aXXXXXXXXXXXXXXXXXX4575e2a7961e05be9bf060cd3ad7f070a"
            },
            "Action": "s3:*",
            "Resource": "arn:aws:s3:::testarticle/*"
        }
    ]
}
where „ae14c31d531a109904b69a457557b495aXXXXXXXXXXXXXXXXXX4575e2a7961e05be9bf060cd3ad7f070a“ is your value from „Canonical User ID column“. Click „Save“. Go back to CloudFront area and make sure the ditribution we just created is in „Deployed“ status. Click on it and copy „Domain Name“ option. Then Click „Origins“ tab check the only row there and click „Edit“ – we need to assign early created Origin Access Identity (I imagine it as a „Cloudfront IAM User assigned to the distribution“, however, technically, it’s probably not a real IAM user). Check „Restrict Bucket Access“ to „Yes“ and select the only (probably?) identity you have in the drop down. Remember we filled in „Comment“ box when created Origin Access Identity, select the value in the drop down, select „No, I will edit bucket policy manually“ and click „Yes, Edit“. Wait till it updates the properties („In Progress“ state). You can test the access to your content directly from your browser once the distribution again in „Deployed“ state. See below (by the way, the screenshot below is also served through the distribution we just created) :
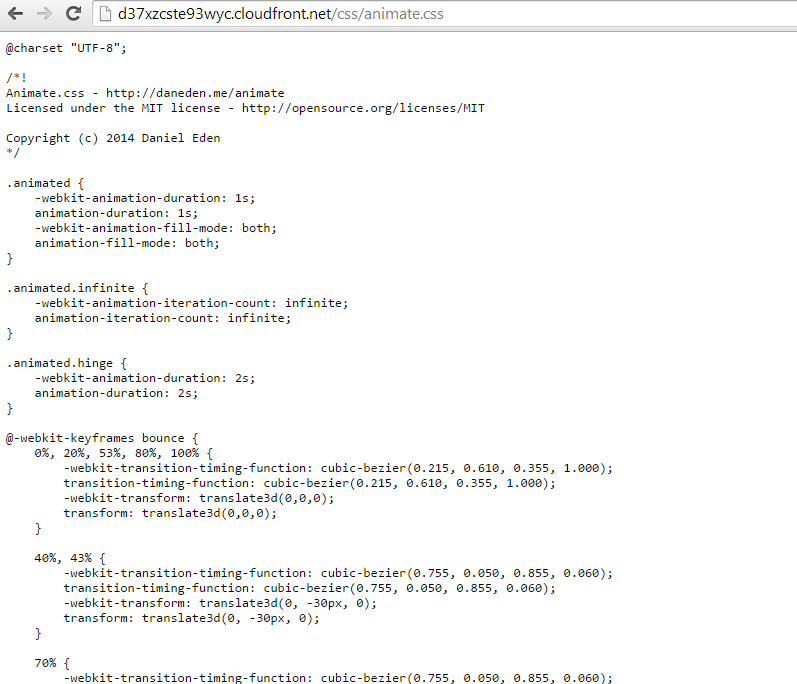
You’re done, you can test how fast it is by linking all your static content to these new URLs. You can also update your distribution domain name by pointing a CNAME record in your domain to the CDN. You can adjust HTTPS setings in case you’re using HTTPS to avoid browser warnings. Of course, there is a nice dictribution statistics panel under CloudFront menu in AWS console. Stay tuned for more tutorials!